Your Spring Interlock Maintenance Guide: How to Restore Your Patio After Winter
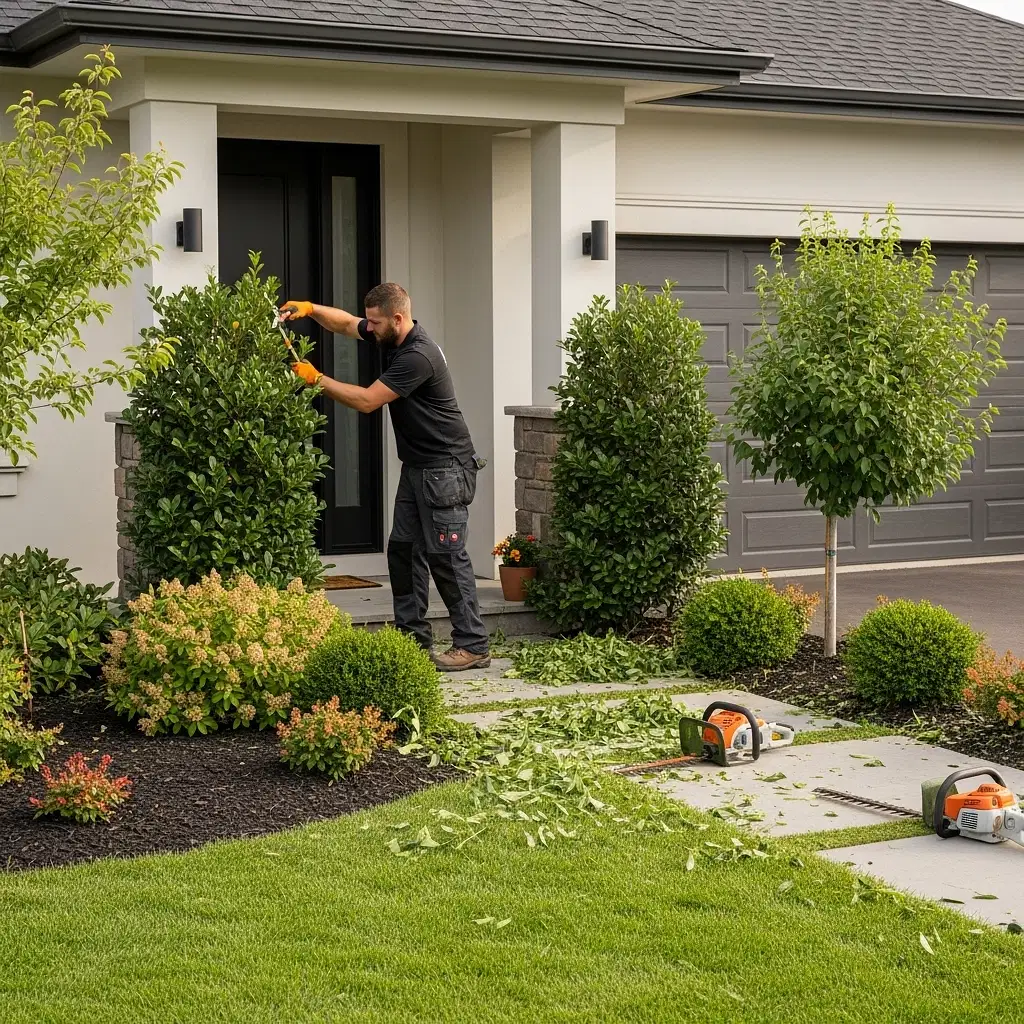
The snow has finally melted, and the first signs of spring are appearing across Vaughan. It’s the perfect time to get outdoors and prepare your property for the warmer months ahead. As you do your seasonal clean-up, you might notice your interlock patio, walkway, or driveway is looking a little worse for wear. Winter’s freeze-thaw cycles, salt, and moisture can lead to faded colours, pesky weeds, and shifting pavers.
Don't worry—restoring that beautiful, clean look is easier than you might think. A little spring maintenance can protect your investment, enhance your curb appeal, and get your backyard oasis ready for summer barbecues. This guide will walk you through the essential steps for cleaning and restoring your interlock surfaces, from a simple wash to a full refresh.
Step 1: The Deep Clean - Washing Away Winter Grime
First things first: a thorough cleaning is essential. Over the winter, your pavers have likely accumulated a layer of dirt, grime, salt residue, and organic stains from leaves and soil.
What You'll Need:
- A stiff-bristled push broom
- A garden hose with a high-pressure nozzle or a pressure washer (use with caution)
- A specialized, eco-friendly paver cleaner
The Process:
- Sweep Thoroughly: Start by sweeping the entire surface to remove loose debris like leaves, twigs, and dirt. This prevents you from just turning dirt into mud.
- Initial Rinse: Give the area a good rinse with your garden hose to wash away the top layer of grime.
- Apply Cleaner: Follow the instructions on your chosen paver cleaner. Most require you to dilute the solution and apply it evenly across the surface. Let it sit for the recommended time to break down tough stains.
- Scrub and Rinse: Use your stiff-bristled broom to scrub any stubborn spots. For a final wash, use a pressure washer on a low-to-medium setting (a fan tip is best) to rinse everything away. Important: Be careful not to get too close or use excessive pressure, as this can damage the paver surface and blast out the jointing sand. Always spray at an angle, not directly down into the joints.
Step 2: Banish Weeds and Refresh the Joints
One of the biggest frustrations for interlock owners is weeds and moss growing in the joints. Spring is the best time to tackle this issue and reinforce the foundation of your hardscape.
Dealing with Weeds: For small-scale weed problems, you can often pull them by hand or use a specialized crack-weeding tool. For more widespread issues, a vinegar-based or commercial moss and weed killer can be effective. Once the weeds have died off, they are much easier to remove.
Replacing Polymeric Sand: The sand between your pavers isn't just for looks; it's a crucial component that locks the stones together, prevents shifting, and deters weed growth. Over time, this sand can wash away or break down.
If you notice empty or shallow joints after cleaning, it's time to re-apply polymeric sand. Here’s how:
- Ensure the Surface is Bone Dry: Polymeric sand is activated by water, so the pavers and joints must be completely dry before you begin.
- Sweep in the Sand: Pour the sand onto the pavers and use your push broom to sweep it into all the joints until they are full.
- Compact the Sand: Use a leaf blower on a low setting to blow excess sand off the paver surfaces. Then, use a hand tamper or plate compactor (for larger areas) to vibrate the sand down into the joints. You may need to add a little more sand after this step.
- Activate with Water: Gently mist the entire surface with your hose on a 'shower' setting. This light misting activates the polymers, which will harden and lock the joints. Follow the product's specific instructions for watering, as too much water too soon can wash it out.
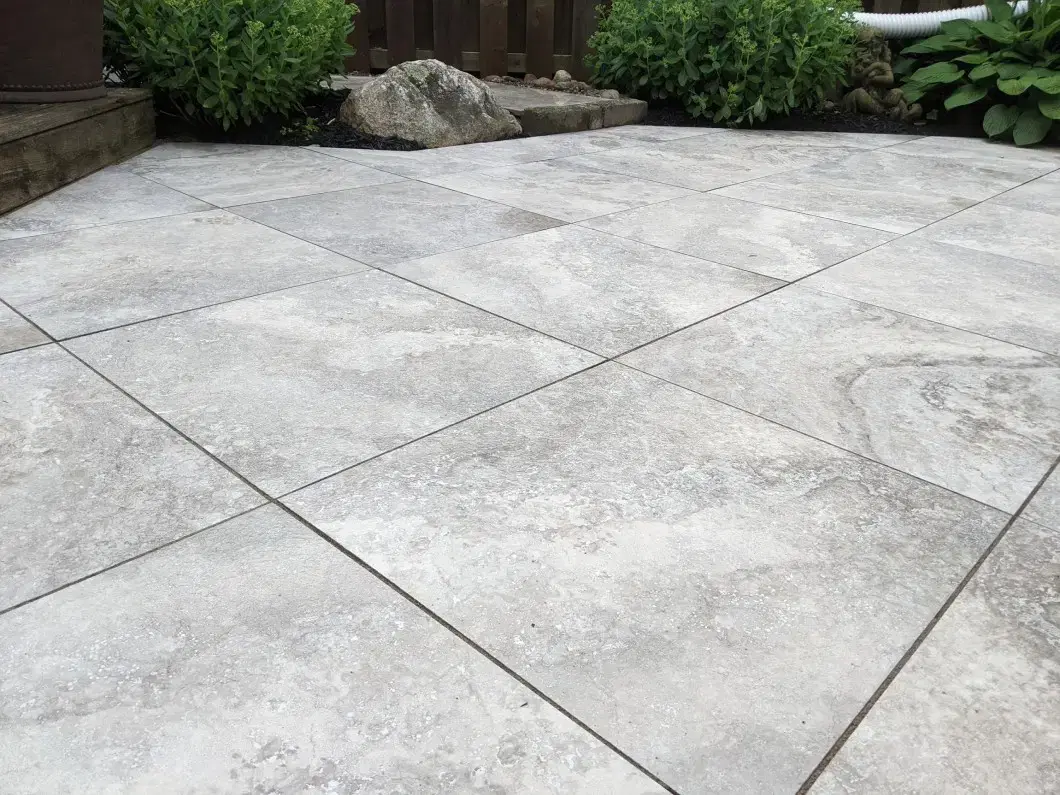
Properly installed and maintained joints are the key to the longevity of beautiful interlock patios and driveways.
Step 3: Seal and Protect for Lasting Beauty
After all your hard work cleaning and re-sanding, the final step is to apply a sealer. While optional, sealing your interlock offers significant benefits:
- Enhances Colour: A good sealer can bring back the rich, vibrant colours of your pavers, making them look new again.
- Stain Protection: It creates a protective barrier against oil, grease, and other stains.
- Easier Maintenance: A sealed surface is less porous, making future cleanings much easier.
- UV Protection: It helps prevent the sun from fading the colour of your pavers over time.
Sealers come in various finishes, from natural matte to a high-gloss 'wet look'. Choose one that suits your aesthetic preference and apply it with a roller or sprayer on a clean, dry day, following the manufacturer's directions precisely. This protective layer ensures your hard work lasts for seasons to come.
When to Call in the Professionals
This DIY guide is perfect for routine spring maintenance. However, some issues require an expert touch. If you notice significant problems like heaved or sunken pavers, extensive staining, or drainage issues, it's best to seek professional help. Attempting complex repairs without the right tools and expertise can sometimes cause more harm than good.
At Earthstone Landscapes, we specialize in bringing hardscapes back to life. Our team has the experience and equipment to handle everything from a deep clean and re-sanding to complex repairs and restoration projects. We ensure the job is done right, restoring both the beauty and structural integrity of your investment.
Ready to transform your outdoor space for the season? If your interlock needs more than just a light refresh, contact us today for a free consultation. Let us help you create the perfect backyard oasis for your Vaughan home.